UNOMi 2DLS is an easy to use software that allows animators to automate the lip syncing process with ease and efficiency. This article will walk you through the process.
Phonemes and Visemes
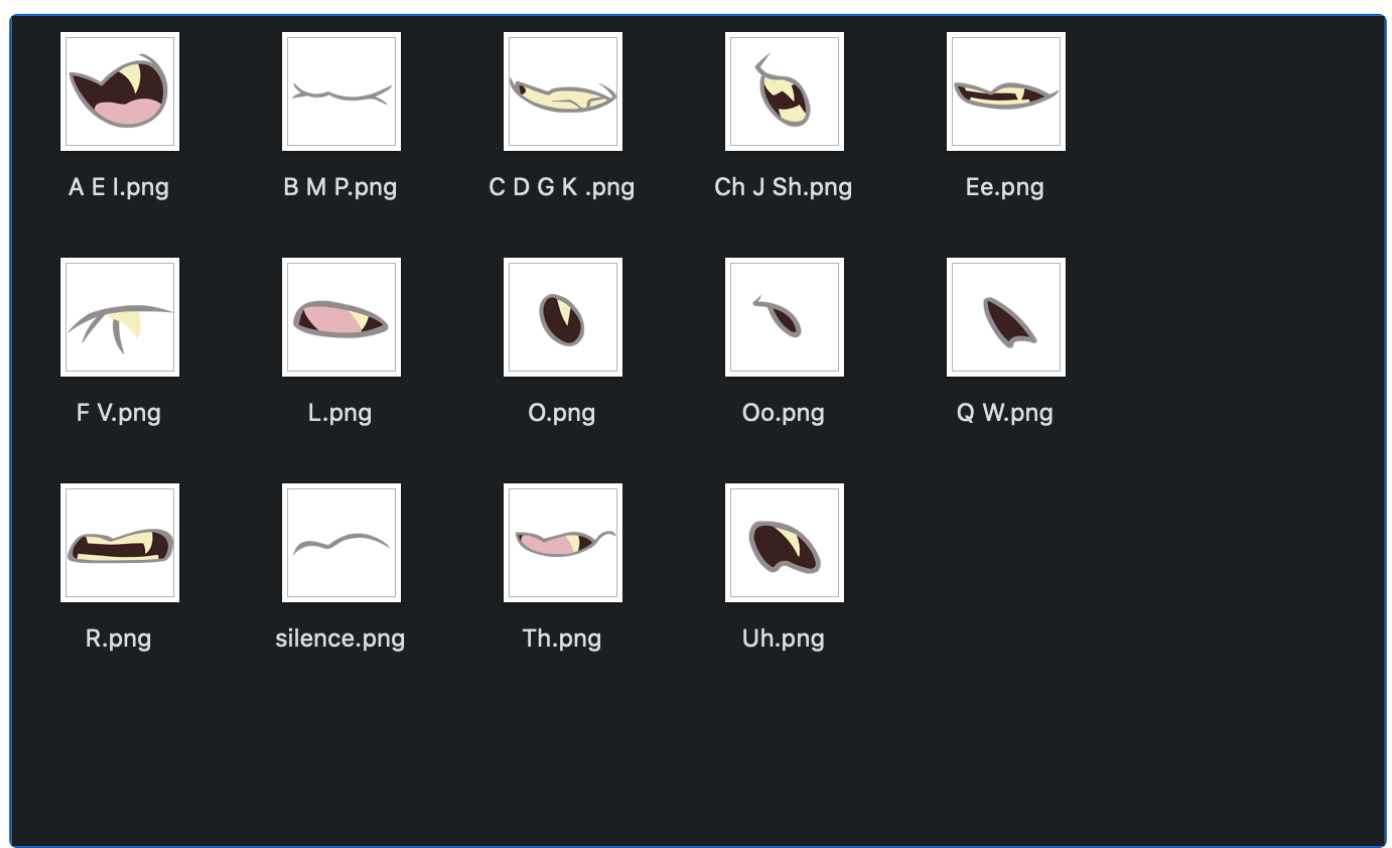
Phonemes are the individual sounds that make up speech. Visemes are visual representations of those phonemes or mouth “poses”. UNOMi uses 14 phonemes. You’ll need to create these phonemes in the relevant styling of the character you’ll be animating.
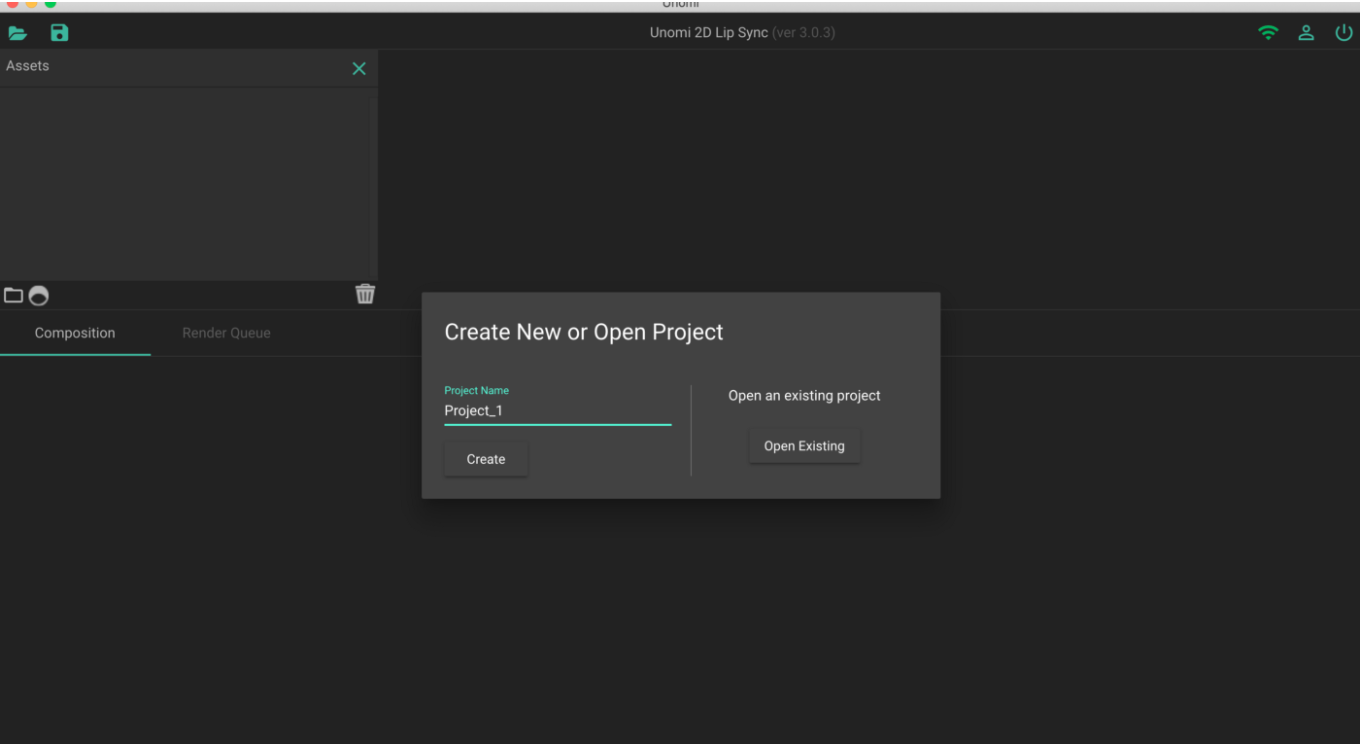
After you’ve created your phonemes, grab the audio file and transcript(.txt) of the character you’ll be lip syncing. Open up UNOMi 2D LS, sign in and create a new project.
Making Lip Sync Animations
Import your 14 phonemes, import your audio, and copy and paste in the text transcript. Use a shortcut by importing all of your files (text, audio and phonemes) at one time
After all of you assets are imported, press the sync button and whallah you have an animation!
Zoom in feature allows you to get a closer look at the text and keyframes in the timeline.
UNOMi does a great first pass, but if you’d like to make edits, deleting and replacing key frames is simple. First click on the keyframe you’d like to edit, hit delete, go the phoneme grid view, click on the phoneme you’d like to replace the keyframe with, and drag and drop it to the appropriate keyframe in the timeline.
Once you’re happy with your edits, go to render ->render settings. Choose which file format you want to render your animation as. UNOMi supports mov, avi, mp4, and png sequences. Use the slider to choose your frame per seconds. The default is 30 fps, but 16 fps seems to be the sweet spot. Click ok and click the Render All button. Download your file and your animation is ready to go.